How to stamp?
Learn how to stamp with B. Loves Plates!
Remember that stamping is easy but as with everything it needs practice before you will be a stamping master! Don’t be discouraged when you don’t make this right after your first trials. Read our guide below and hope it will make you easier with your stamping adventure.

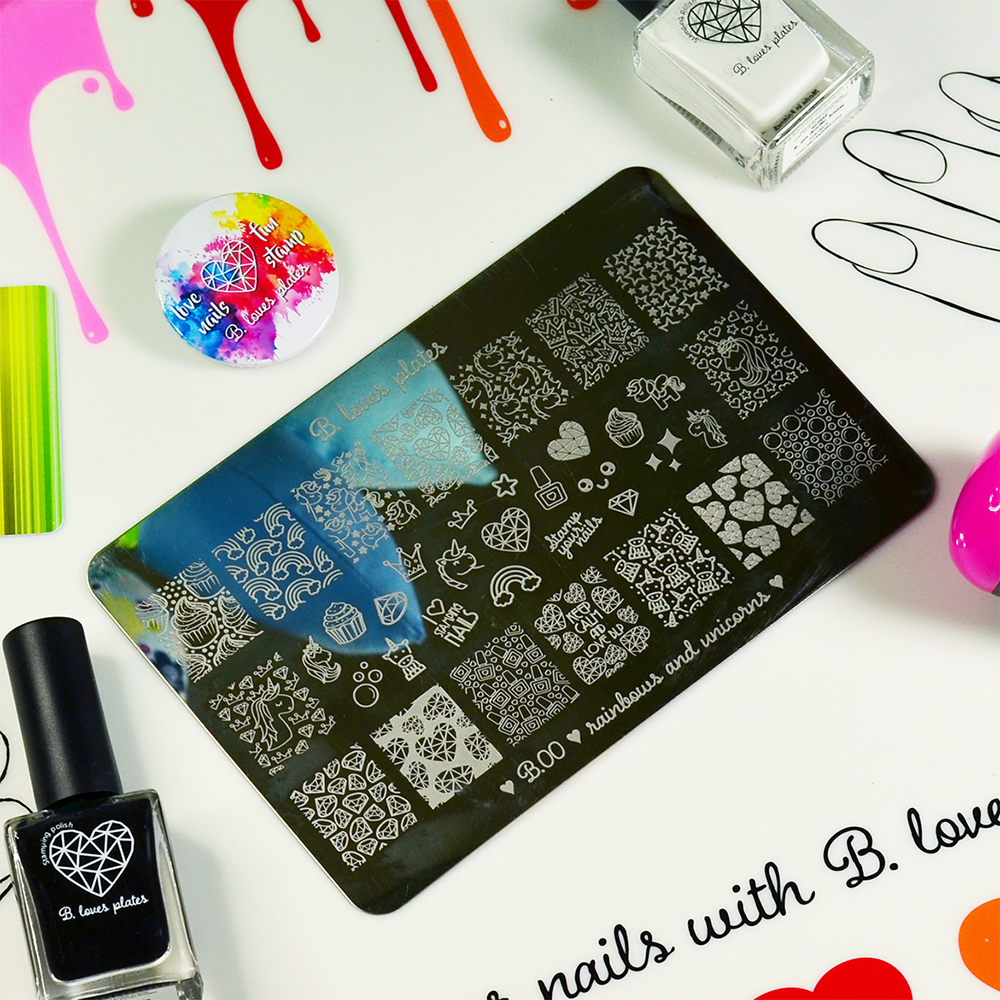
1. Choose a design
We start with choosing a design (it’s not so simple sometimes!) and clean it with a nail polish remover – with this step you remove all the dust and dirt from stamping plate and you prepare it to the stamping process.

2. Apply a stamping polish
Now you need to apply a stamping polish to you design – in many cases you can cover only a half of design with polish.

3. Remove an excess
Using a scraper you need to gently scrape the stamping polish off to apply it to every corner of your design. Remember to be quickly and confident. Don’t press the scraper too much to the stamping plate so you don’t scrape too much nail polish off.

4. Transfer a design onto stamper
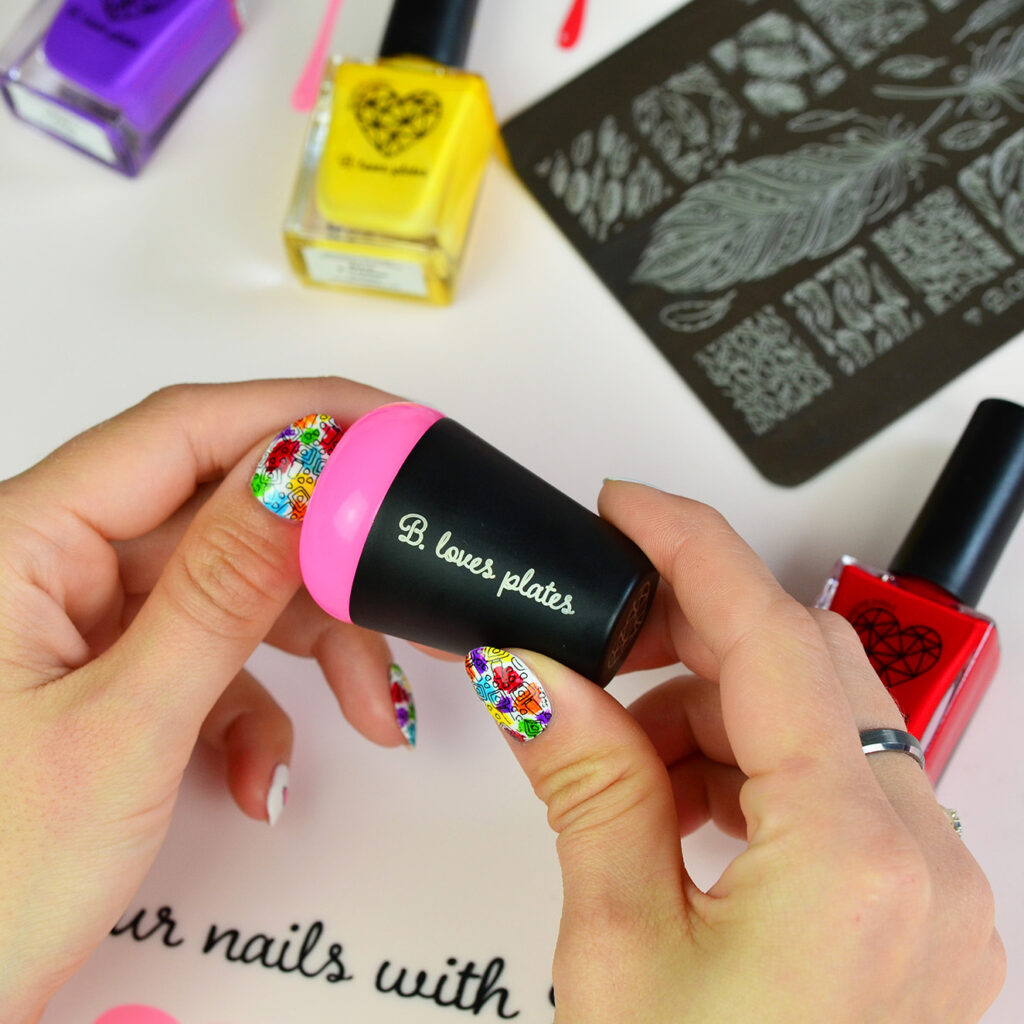
Time for real stamping! You just need to stampe the design and transfer it to the stamper – I know it sounds like magic, but you will do it for sure! You need to stamp the design with a rolling move (from one side to the other) instead of the on top move. Remember that you don’t need to use all of your strength on it – you just need to gently press the stamper over the stamping plate so the design stick to the stamper

5. Stamp a design on your nail
With the quick move you need to stamp the pattern on you nail – you can do that in so many ways. From the top or from the one side to the other – check every way and choose which one you prefere the most. It also depends from what kind of stamper you use (normal or clear one).

6. Clean a cuticles
Now you need to clean all the remains of stamping polish from your cuticles. Use a cotton balls diped in nail polish remover or a cotton swab to more accurate cleaning. You can also use a little thin nail brush diped in nail polish remover. Or use a special liquid latex to protect your cuticles even before stamping 🙂

7. Use your favourite top coat
All the design cover with the favourite top coat (classic or gel) – remember to be gently to not smuge the design under! If you paint with a brush too many time on your design – it will smuge it for sure and we definately don’t want that, right?

8. Admire your nail art!
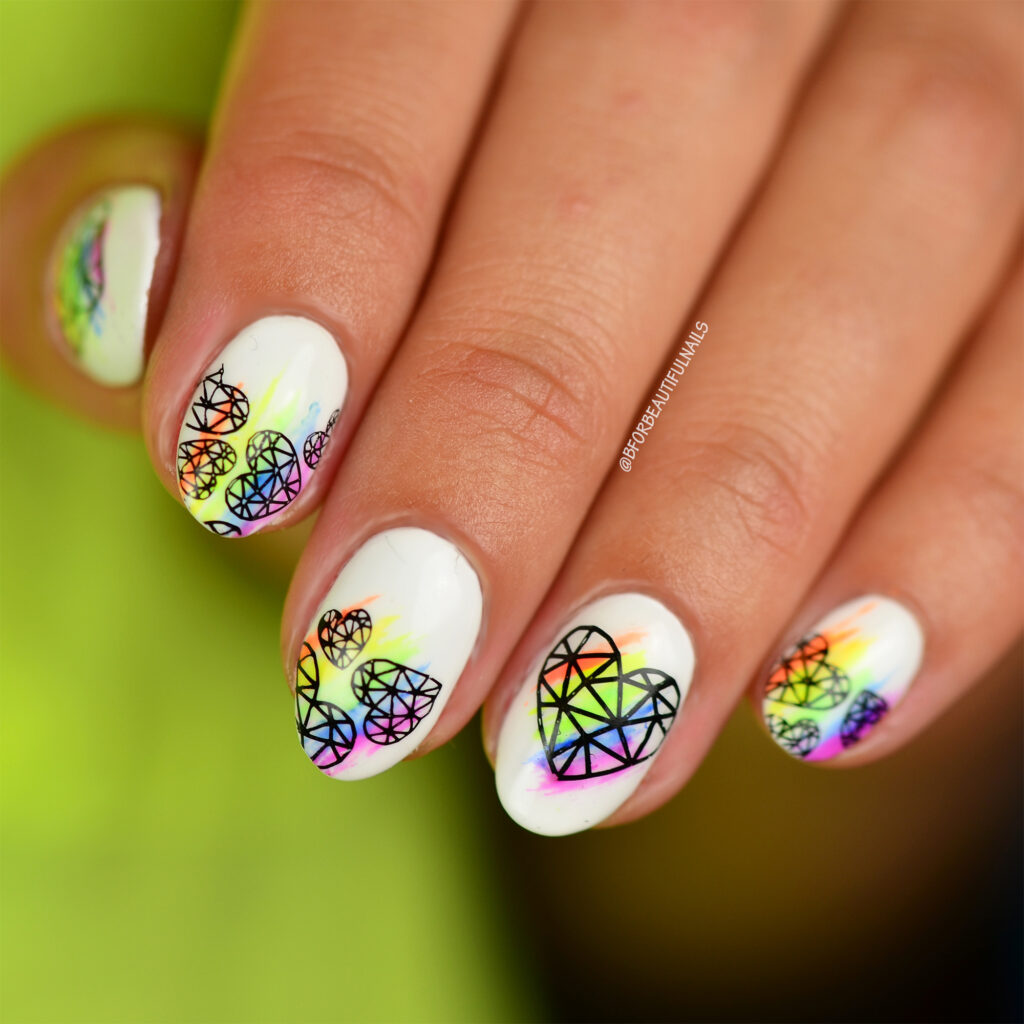
Wait until the nails dry and admire beautiful nail art that you just created! Good work!

Happy Stamping!
If you have any problems or doubts during the stamping process – don’t hesitate to write to us! We will help you to solve all the stamping problems. We want you to feel only joy and pleasure from stamping!
